A Randomly Selected Newspaper Headline:

The following is a randomly selected newspaper headline from many years ago:

Welcome to my blog. Please feel free to leave a comment. I assure you I always read and appreciate everything you have to say. Unfortunately, thanks to Blogger being, well . . . Blogger, I can not respond to comments nor leave any on your blogs. They simply disappear into the ether. Occasionally I will remember to respond in the next blog post I put up, but usually these good intentions slip my mind. So if you want to ask a question or get a response to any comments you may have please leave an email address or other contact method in your comment and I will get back to you.

I have also added a separate page to the blog for the Tower of Magic with a brief summary of all the rooms of the ToM in the one spot. The link is just below this and above the main body of the blog, or you can just click here.

Wednesday, September 23, 2015

Covering the Cardboard


I've been busy working on the outside of my 24th scale house so that it no longer looks like two cardboard boxes stacked on top of each other and instead actually looks like a smart house.  The basement and 'street' level of the exterior walls are clad with stone 'blocks' of EVA foam (same as the 48th scale castle was earlier in the year).  The upper walls were intended to be a dove grey but came out distinctly lavender grey instead.


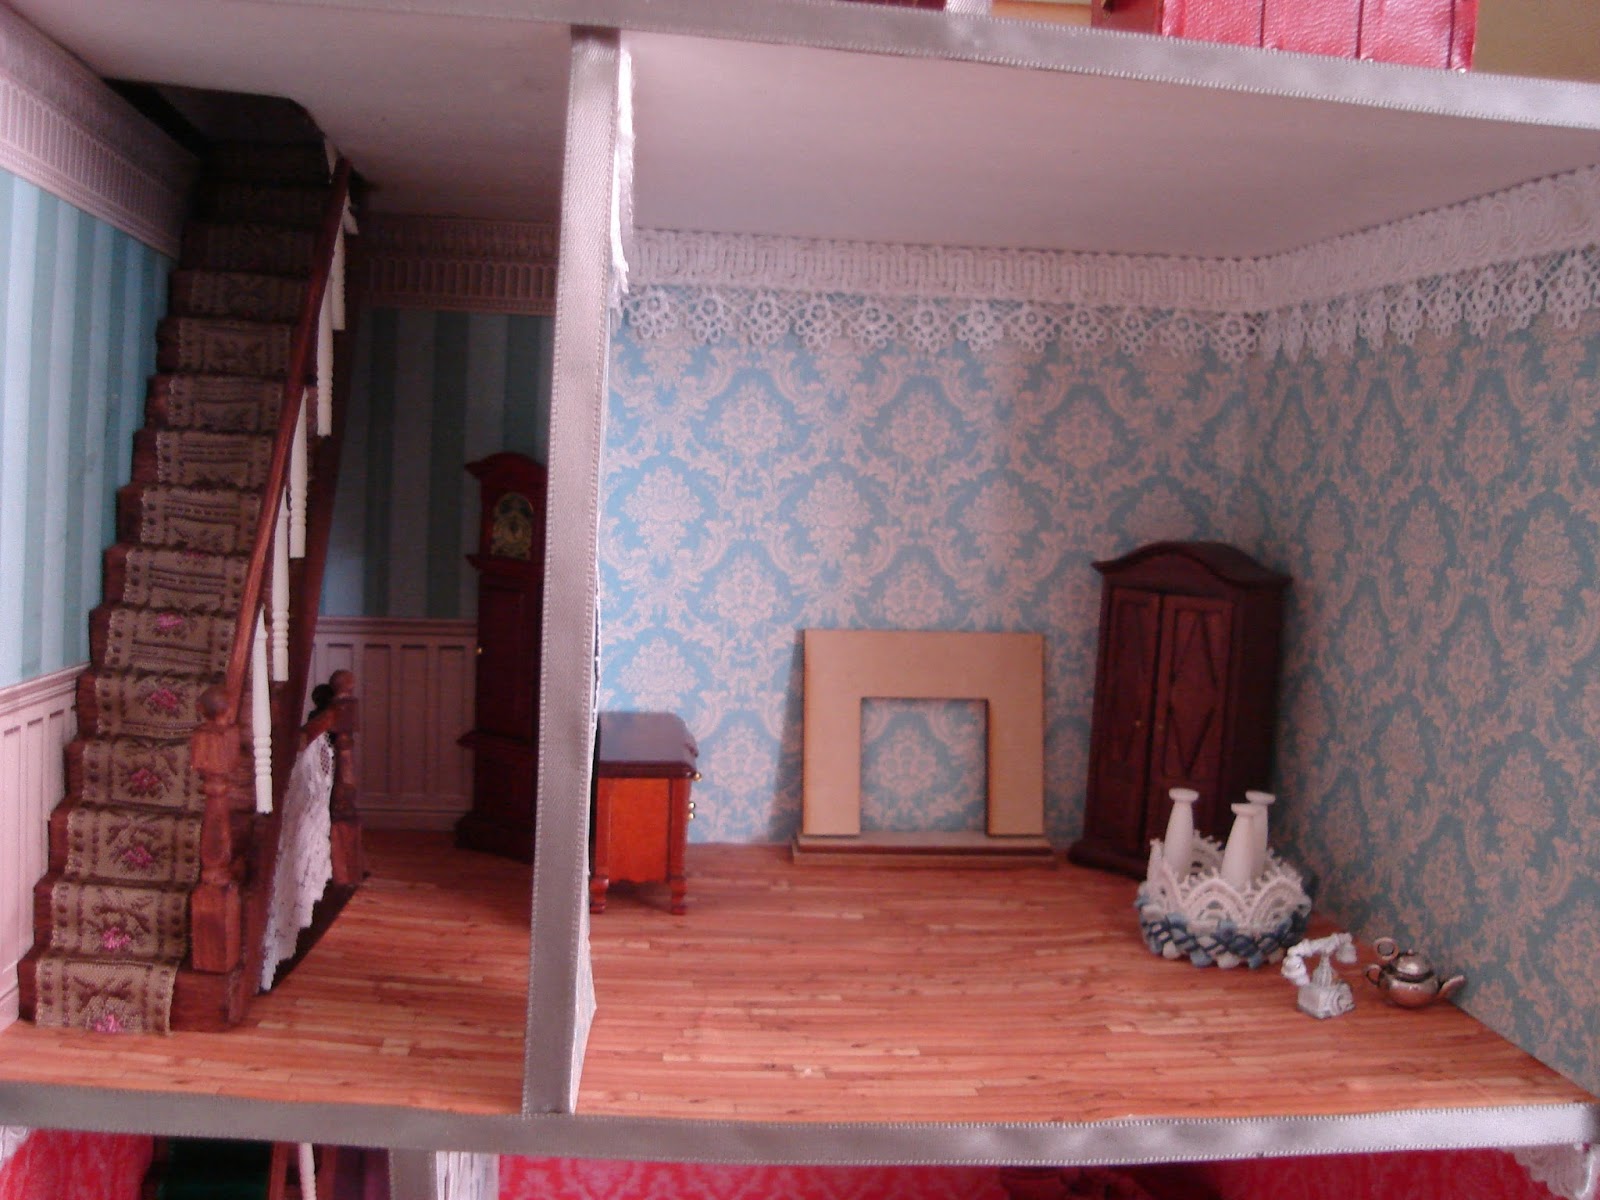
Inside, I've moved the wall separating the stair/hall from the rooms across about a centimetre which means that the stairs no longer look so confined.  The stairs themselves have been carpeted with either woven ribbon or velvet ribbon.


Another change is that the chimney breasts have been removed from all the rooms.  I decided that they took up too much space in the rooms and given the way the fireplace kits I bought are assembled they're not really necessary anyway.  Another reason for removing the breasts is that once I started playing with furniture I decided the fires would be better on the back walls than the side walls where I originally had them.  That's this week anyway . . . by next week the fires will probably be back on the side walls again.


In addition to the furniture I've bought for this house, I have made a start on making my own.  If the seat of this chaise were about half as wide it would work quite well in the entry hall where is was designed to go.  I also don't like the two different greens (stair carpet and chaise) in such proximity.  So most likely I will use this chaise elsewhere and make a new one for the entry.


Thursday, September 3, 2015

Narrow Stairs and Beautiful Bookcases


I have to apologise for the first couple of photos in this post.  They are not supposed to be sideways but have a stubborn determination to be displayed that way.  The first photo shows the to lower floors of the house while the second shows the remaining upper floors.


With all the internal walls in place, this house has now reached the point where I've come to the conclusion that I really do not like it.  The problem is the stairs.  The stair/hallways are too narrow and claustrophobic looking and the stairs too dark and dominating.  I am hoping that adding a carpet runner to the stairs and adding white rails will solve the second problem but fear they will only make the first problem worse.  Technically given the era I'm planning for the house I should also add a picture rail along the upper walls which should make the ceiling look lower and therefore the hallways should look wider in comparison.  So maybe it will turn out OK in the end.  Maybe.


Even on this level where the stairs are separated from the main room by an open divider rather than a solid wall, the stair area still looks too cramped.  I am quite pleased with the room divider itself though I'm not to sure if white is the right colour for it.  Perhaps it should be a little darker, say a beige or light brown?


Most of the furniture for this house will be hand made, but I cheated and got a head start on the furnishings by buying some ready made which arrived in the mail a couple of days ago.  I had planned to recover the sofa and chairs but surprisingly the blue and white fabric seems to work quite well in this room and it makes the white of the room divider look more at home too.  It's starting to look just a little like maybe I do know what I'm doing after all.


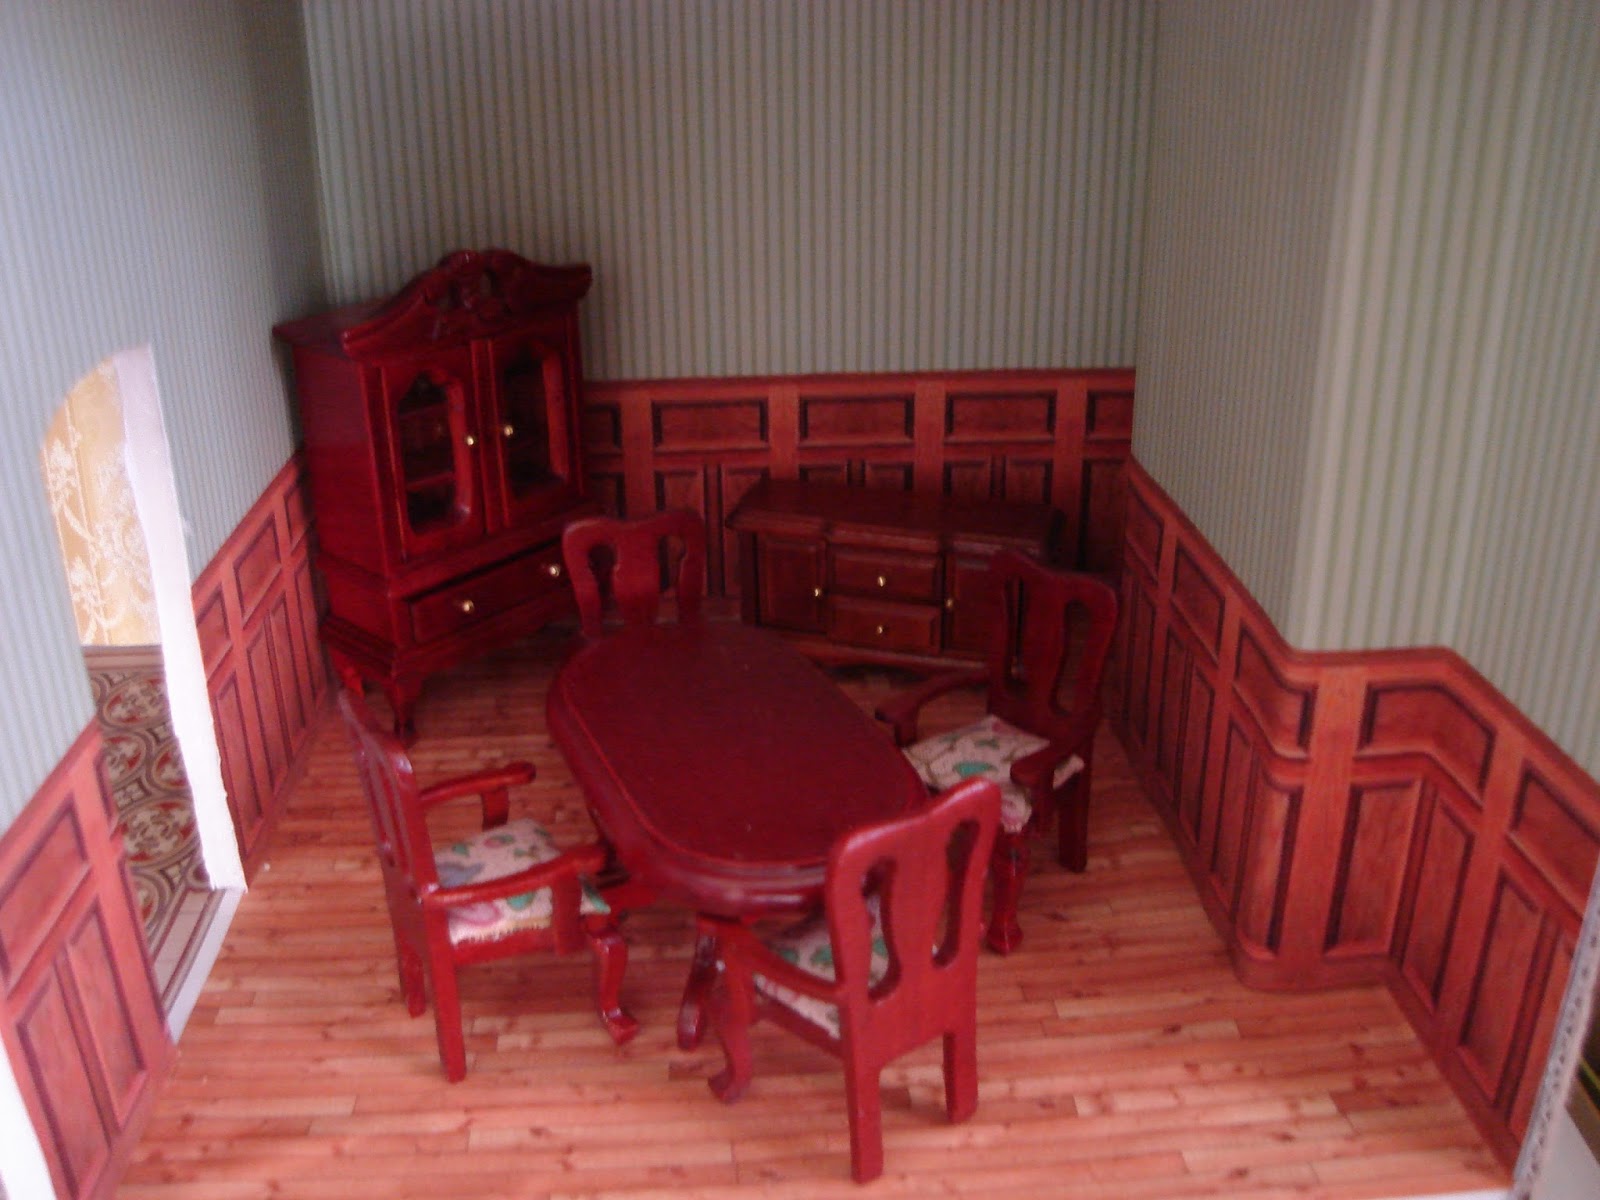
 On paper, there was oodles of space in each room to fit in everything I wanted to and then some more as well.  As usual, reality has proved to be more cramped (hence my dislike of the stairs).  The furniture in this room (which won't be staying where it is) shows it is a very good size for a dining room . . . too bad this room is supposed to be a doctors surgery/office.  If the desk is about the size of the dining table and I try to squeeze in an exam table behind a privacy screen, a shelf of medical texts, a chair for the patients to sit as well a various other items that should be found in a surgery . . . . well it may all fit in, but I don't think I'm going to be able to arrange everything in a layout that is really going to work.  I guess we'll find out soon enough.

Now these few pieces of 24th scale furniture came from Lorraine at Fairy Meadow Miniatures in Sydney.  In addition to what I ordered, just look at what else this wonderful person sent me as a free gift:


All I can say is Wow.  And of course a very huge Thank You to Lorraine.  I think I've filled entire houses with less than this.  Many items are of course broken or damaged, but just as many seem to be in pristine condition.  I haven't done anything to deserve this generosity (no Lorraine, sharing photos of my miniatures does not qualify) so I would like to ask everyone to at least pay a visit to her store's website at http://fairymeadowminiatures.com.au/  and browse through some of the lovely miniatures there.


There were so many wonderful things in this parcel.  I love the colour of the rug, a sort of burgundy purple, there is a gorgeous little lace fan, but my favourite has to be these round bookcases.  I tried to make something similar once, but gave it up when it didn't work out.  I am definitely going to have a lot of fun thinking up ways to use all these wonderful items.

Wednesday, August 26, 2015

Romans and Room Dividers


The 48th scale Roman dining room is now furnished.  It has three wooden chaises arranged in a 'u' around a central table.  Romans would dine reclining on chaises quite similar to mine so they must have been more comfortable than they look.  In the Mediterranean climate, piling them with cushions would probably have made them too hot so I've added a single cushion of maroon felt to each chaise just for a little colour and interest.   The room is still missing some food and drink.  I will make this from polymer clay next time I have the clay out for something else as it doesn't seem worth the effort to pull the clay out just to make a few things to sit on a table less than an inch in diameter.


The 24th scale town house is looking a great deal less polished than the Roman room.  Most of the levels in the house have had flooring installed.  The exception is the third or middle level.  This is because I haven't quite decided where I want to divide the rooms on this level and I naturally want to try and hide the join in the flooring under this divide.


The rooms on this level won't be divided by a solid wall though. I took some 12th scale plastic fence railing, cut it into pieces, re-arranged them and glued them back together between strips of balsa wood to create this room divider:


 Now I just need to decide whether it should be dividing the room so that it leaves a narrow passage along the stairs and a large single room space on the floor or if it should be positioned more centrally to create two even areas.


In the basement, the kitchen floor has been started using polyfiller to create a stone effect.  It still needs a few more layers of paint at this point.  Some plastic coated cardboard tiles line the recess for the range/oven.  The right side of the room has been raised up a couple of steps just to add a little interest to the space and to make it really hard for me to get paint down to the narrow bit at the back and no doubt to make it hard to get the furniture to work in the space later on.  That is of course despite the fact the furniture will be custom made for the space.


Wednesday, August 12, 2015

Little Boxes


When I finish one project I always have ideas lined up for the next project. . . . . Okay, for the next half dozen or so projects.  This time however I wanted to hold off on starting something new in order to firstly clean and tidy my workspace and secondly to find a use for the various containers I've collected on the basis they will make a great case for a miniature scene someday.  I have boxes, small shelf cubes, a glass lantern and sundry other items that I still don't know exactly what I want to put in them but I've been tripping over them too long to leave them hanging about empty.


Amongst those containers are this framed white display shelf and a stack of cardboard boxes just the right size for a 48th scale room.  I figured out that if I knock the shelves out of the unit I can stack ten of the boxes into the unit.  So the plan I've come up with is to make ten roomboxes, each with a different theme to display in the unit.  This will get rid of both display unit and boxes.  The catch is that I don't have ideas for all ten rooms yet and probably won't fill all ten boxes straight away but rather work on them gradually between doing other things so the unit and boxes will still be hanging about for a while yet.


Not knowing what to do for all ten boxes doesn't mean that I haven't made a start on a couple of them.  The first box now holds this Georgian style bedroom with canopied bed, dressing table and chaise.  If you're thinking that it all looks a little like the rooms in Le Petit Palais then you would be right as the room is decorated with papers and other items left over from that project.


The second box is going to be something completely different.  This box isn't furnished yet, but it will be a Roman dining room with chaises for the diners to recline on while they sip their wine and eat whatever it was Romans ate that is easy to recreate in 48th scale.  I still need to do a little research before finishing this one.  The remaining eight boxes will be set in similarly different times and places.


I also had on hand a pair of flat packed cardboard storage boxes that I had hoped would hold old dollshouse magazines but the boxes were a little large to suit that purpose.  Now they have a new purpose.  By sticking one atop the other and adding foamboard floors inside I now have a five floor 24th scale town house.  This is actually a case of two birds and one stone as I wanted to find a use for the boxes and a 24th scale town house was already on my list of future projects.  It's going to be set around 1860 and it will be the home of a doctor.  From the bottom up the floors will hold: a kitchen, the main entry and surgery/consulting room, a living space or reception room, the bedroom and up in the attic will be a bathroom and either a private office or a small medical lab.


This still leaves me with a lantern, two display cubes and possibly a few more boxes to find uses for . . . . . . . .

Wednesday, August 5, 2015

Orchid Cottage


Orchid Cottage is now finished.  Well, finished-ish.  There are a few things I'd still like to do such as find a trim to add to the bottom of the two small dormers as there is actually a gap between the front of the dormers and the roof tiles below.  Sadly nothing I've tried looks quite right, so for the time being they will remain as they are.


Each of the two levels inside consists of a single large room.  The kit is designed to have two rooms per floor and an internal staircase occupying part of the rooms.  I found that I kept running out of space working without the dividing walls and moving the stairs into an annex on the side.


 Despite the lack of internal walls, each floor has two separate areas.  Upstairs has a sitting area and a sleeping area in the bedroom.  The sitting end of the room consists of a cosy chair by the fire beside which is an embroidery table.  The wash stand also inhabits this area.


The other end of the room holds the bed with little space left for anything else.


Downstairs the two areas are the kitchen and the living area.  These two areas are squeezed in quite tightly.  Each has exactly fifty percent of the floor area but each really needs at least sixty percent before they could have a really pleasing layout.  The living area in particular does not please me but there is simply no better way to fit everything in (and you'd better believe I have tried every single possible way).


I might have done better to make or buy furniture specifically for the house instead of using so many items from my stash, but you see the whole point of buying the house was to use up some of the furniture from my stash and get it out of the cupboard.  This, and the fact I doubt I'd have had any more success with custom made furniture, is why I stuck with what I had.


 Ethel, the lady of the house is a cheap porcelain doll re-dressed in a plum coloured cotton dress.


My Orchid Cottage looks quite close to the basic Orchid kit despite all the changes I made.  The kit is supposed to be open at the back, mine opens at the front.  I blocked off all the side windows as they just messed up any possible interior layout.  The other major change I made was to add the staircase annex on the left side of the building.

Thursday, July 30, 2015

Tower of Magic - The Bathroom


Firstly, I'd like to remind all of you who choose to leave comments on my blog that Blogger will not let me respond to them directly (nor leave comments on your blogs).  This is why I will occasionally start a blog post by responding to a comment.  When I fail to make any response to a comment, it is usually because I've forgotten that I intend to do so by the time I get around to writing the post.  If anyone ever does ask a question and not get a response, please just keep asking and jogging my memory until you do.   I do appreciate comments even if my inability to respond to them directly leads to my forgetting to do so.

In response to Rosie's comment on the Tower of Magic page: No, I don't know any other miniaturists in Launceston.  There is at least one group/club out there as the Examiner once published a photo of a little vignette made at a group workshop, but it had only a one sentence caption and did not include any contact details for the group.  I googled them at the time, but got no results.  There is the 'Miniature Enthusiasts of Tasmania' based in Hobart and they may know of groups or people based in Launceston if you ask.  The only contact point for them on the web seems to be their facebook page here: https://www.facebook.com/pages/Miniature-Enthusiasts-of-Tasmania-Inc/475351902532998.  Lara Copper, who make full size and miniature pots and kitchenware, are based in Launceston and may know about local groups and individuals if you ask them (especially if you buy something too!).


In the ToM bathroom, I've added a shiny gold . . . . thingy to the ceiling.  It's not a chandelier as there are no provision for candles or light bulbs on it.  It does however fill in the bland empty spot that was there before.  It's made from five large filigree flower shaped findings bent to a slight curve and tied together with gold wire.


With this addition in place I'm calling the Bathroom finished.  Am I happy with it?  Of course not.  I should never have reduced the size of the bath tub.  Yes it was too large for the space, but now the mermaid looks like she doesn't have anywhere near enough room to splash about in.  The colours are wrong.  If I weren't so lazy I might have repainted the furniture in a different colour, perhaps a deep purple like the mermaid's tail?


Whatever my overall opinion of the room, there are some elements of the room that do work.  No one will ever confuse my stove with one of the versions made by the likes of Reutter Porcelain, but for something that cost less than a tenth the price of a Reutter stove I think it is highly effective.


By now you've probably noticed that I like doing girly dressing tables with lots of sparkly pots and treasures with this one being a fine example of my style in this area.


Last week I did promise to show you Orchid Cottage totally finished.  Unfortunately, it's not quite there yet and still needs a few small tweaks before it's ready to be revealed.  I'll show it to you next time and until then I'll leave you with this sneak peek at the front porch.

Tuesday, July 21, 2015

Added Detail


I've continued to add details to Orchid Cottage this week.  Some of the furniture has moved about or simply been added or removed and I think I've finally gotten it right.  Probably.


The floral throw across the foot of the bed was all wrong so I've replaced it with some velveteen in purple and wine with a little lace trim and I like the bed much better because of it.  I've added a storage chest at the foot of the bed and added some faux cupboard doors which access some imaginary storage under the eaves of the roof.


I've dressed up the top of the chest of drawers with some typical dressing table items.


 Downstairs, the sofa is now at the front of the room and the dining table at the back.  This looks more pleasing than having the two tables right at the front but makes it hard for the resident to sit and gaze out the front window.  The back of the sofa was quite bland so I added interest with a panel of fabric and recovered the rest of the sofa in the same fabric.


On the back wall the wrinkled wallpaper has been covered up with this large framed picture.  The table holds a floral arrangement but still needs a little something more - perhaps a lacy doily under the flowers.  I don't want to totally cover up the wooden top, but at the moment it's a little too bare.


The ToM Bathroom now has all the features that are part of the plan for the room but it's still lacking something.  I tried sitting the partly made canopy back in place, but that still looks wrong.  Perhaps a canopy with thinner, more delicate supporting posts or perhaps some sort of large chandelier hung overhead.  Overall, I think it's time to give up adding rooms to the ToM, they rarely co-operate and it's just as rare if I actually whole heartedly like the end result.

Wednesday, July 15, 2015

Moving Around


Just once, it would be nice to have a house where everything just fell into place; where the vision in mind just worked out in reality exactly as intended.  Sadly, Orchid Cottage definitely is not the one.  The furniture has been moved around in here dozens of times and I still haven't managed to get it right.


Upstairs in the bedroom there is currently a bed, a chest of drawers that will double as a dressing table, a writing table and chair and an armchair and embroidery table by the fire.  The hip tub and washstand I wanted to have in here are currently shuffled out.  The problem I have with this space is it just looks awkward, crowded and confused no matter how I lay it out.


The other issue is in the fabrics I've used.  They are different for every piece of furniture with clashing patterns.  I did this to try something different from my usual style but it is pretty clear why I have a usual style that does not involve mixing patterns.  Although I think the geometric purple fabric on the pillows and top of the bed actually work rather well, the large floral fabric across the foot is just wrong.  I'm not sure if it's the pattern I don't like or if I just need to use a darker coloured fabric to anchor it more.  And the everything different look - some people can pull it off and make a room look really good done that way.  I am not one of them.


One piece of furniture that has been made and installed and will not move (I hope) is the kitchen range.  This was made from balsa wood, toothpicks, scraps of cardboard and some beads.  As you can see above, it was made in two sections but I still had trouble wiggling the finished pieces into the hole in the wall created to accommodate it.


It was made using images of Victorian era ranges as a guide and includes a water tank for hot water on the left.  A yellow bucket hangs from the tap used to release the water.  Beside the water tank is a grate where coal (beads) are burning to create the heat with a hotplate above.  All down the right side are enclosed ovens.  Along the wall beside the range is a filled dresser and an icebox.  I think the ice box could use some decals or other decoration to liven it up a touch.


 Originally, I intended to have just the round table in the room to double as a kitchen workspace and dining table, but at some point in my indecisive re-arranging I decided to add a second table for the kitchen and reserve the round table for dining.  The kitchen work table was quickly knocked together using balsa wood and some turned posts.  I like the kitchen half of the room with this new table but the living half of the room is still wrong.


Again, the fabrics used on the sofa aren't working but mostly the layout of the furniture just doesn't look right.  I'm thinking I might put in a fireplace somewhere are this end of the room but I want to be sure I like how the furniture will be laid out before I do anything so permanent.


In the ToM bathroom, I've finally filled the bath tub and because it is the Tower of Magic I decided to add a mermaid


Her top half is a cheap porcelain ballerina doll whose legs were chopped off while her tail is a cone of purple fabric stuffed with fill and a length of wire to make the tail bendable.  Purple fantasy film was used to create the fin at the end of her tail.  The tub is filled with glass marbles.  Over the marbles is a layer of Scenic Water treated to create the effect of bubbles.  I make these bubbles by firstly putting some detergent in a jar with a little water and shaking vigorously to make foam.  The foam is left to stand while I heat and melt the Scenic Water.  The water in the jar will collect in the bottom once it's been standing for a while and the water can then be tipped out leaving just the foam behind.  I then add some melted Scenic Water to the jar and shake again so the Scenic Water coats the bubbly foam.  This was then spooned out into the tub and squirted into the harder to reach places with a large nosed syringe.


Before doing this I reduced the size of the tub as I had reached the conclusion what I had was too big for the space.  Unfortunately, what I left myself with now looks far too puny.  So I'm going back to plan A . . .


  . . . Which was to have a step around the bottom of the tub.  This is the original step cut for the larger tub so it needs to be reduced a little as well.  And now I'm wondering if I should bring the over-tub canopy back again too . . . .


Finally, a few weeks ago I complained about the size of a 12th scale hip tub I'd bought online.  To further illustrate this complaint, here is the new tub beside the larger 12th scale tub I've had for years.  These were both sold as 12th scale, yet they are totally different sizes.  Even in the 'big' tub it would be hard for an adult to fit themselves and some water in at the same time, the the 'little' tub, no chance.  If you are in the market for a hip tub like this, please be very careful to check exactly what size it is even if it is sold as 12th scale!